
How to Prepare Your Home for a Real Estate Photo Shoot
Great listing photos don't start with the camera. They start with how the home looks before I ever walk through the door. Here's what actually makes a difference — and how to set your shoot up for success.
After 18 years behind the lens, I can tell you this with full confidence: the homes that photograph best aren't necessarily the biggest or the most expensive. They're the ones that were thoughtfully prepared. The sellers and agents who take prep seriously end up with images that stop scrollers in their tracks — and that's exactly the point.
This checklist is for both sellers who want to put their best foot forward, and agents who want every listing to feel like a showpiece. Think of it less like a to-do list and more like a conversation between you and the camera. Every detail you address is one less thing standing between the home and its best possible version.
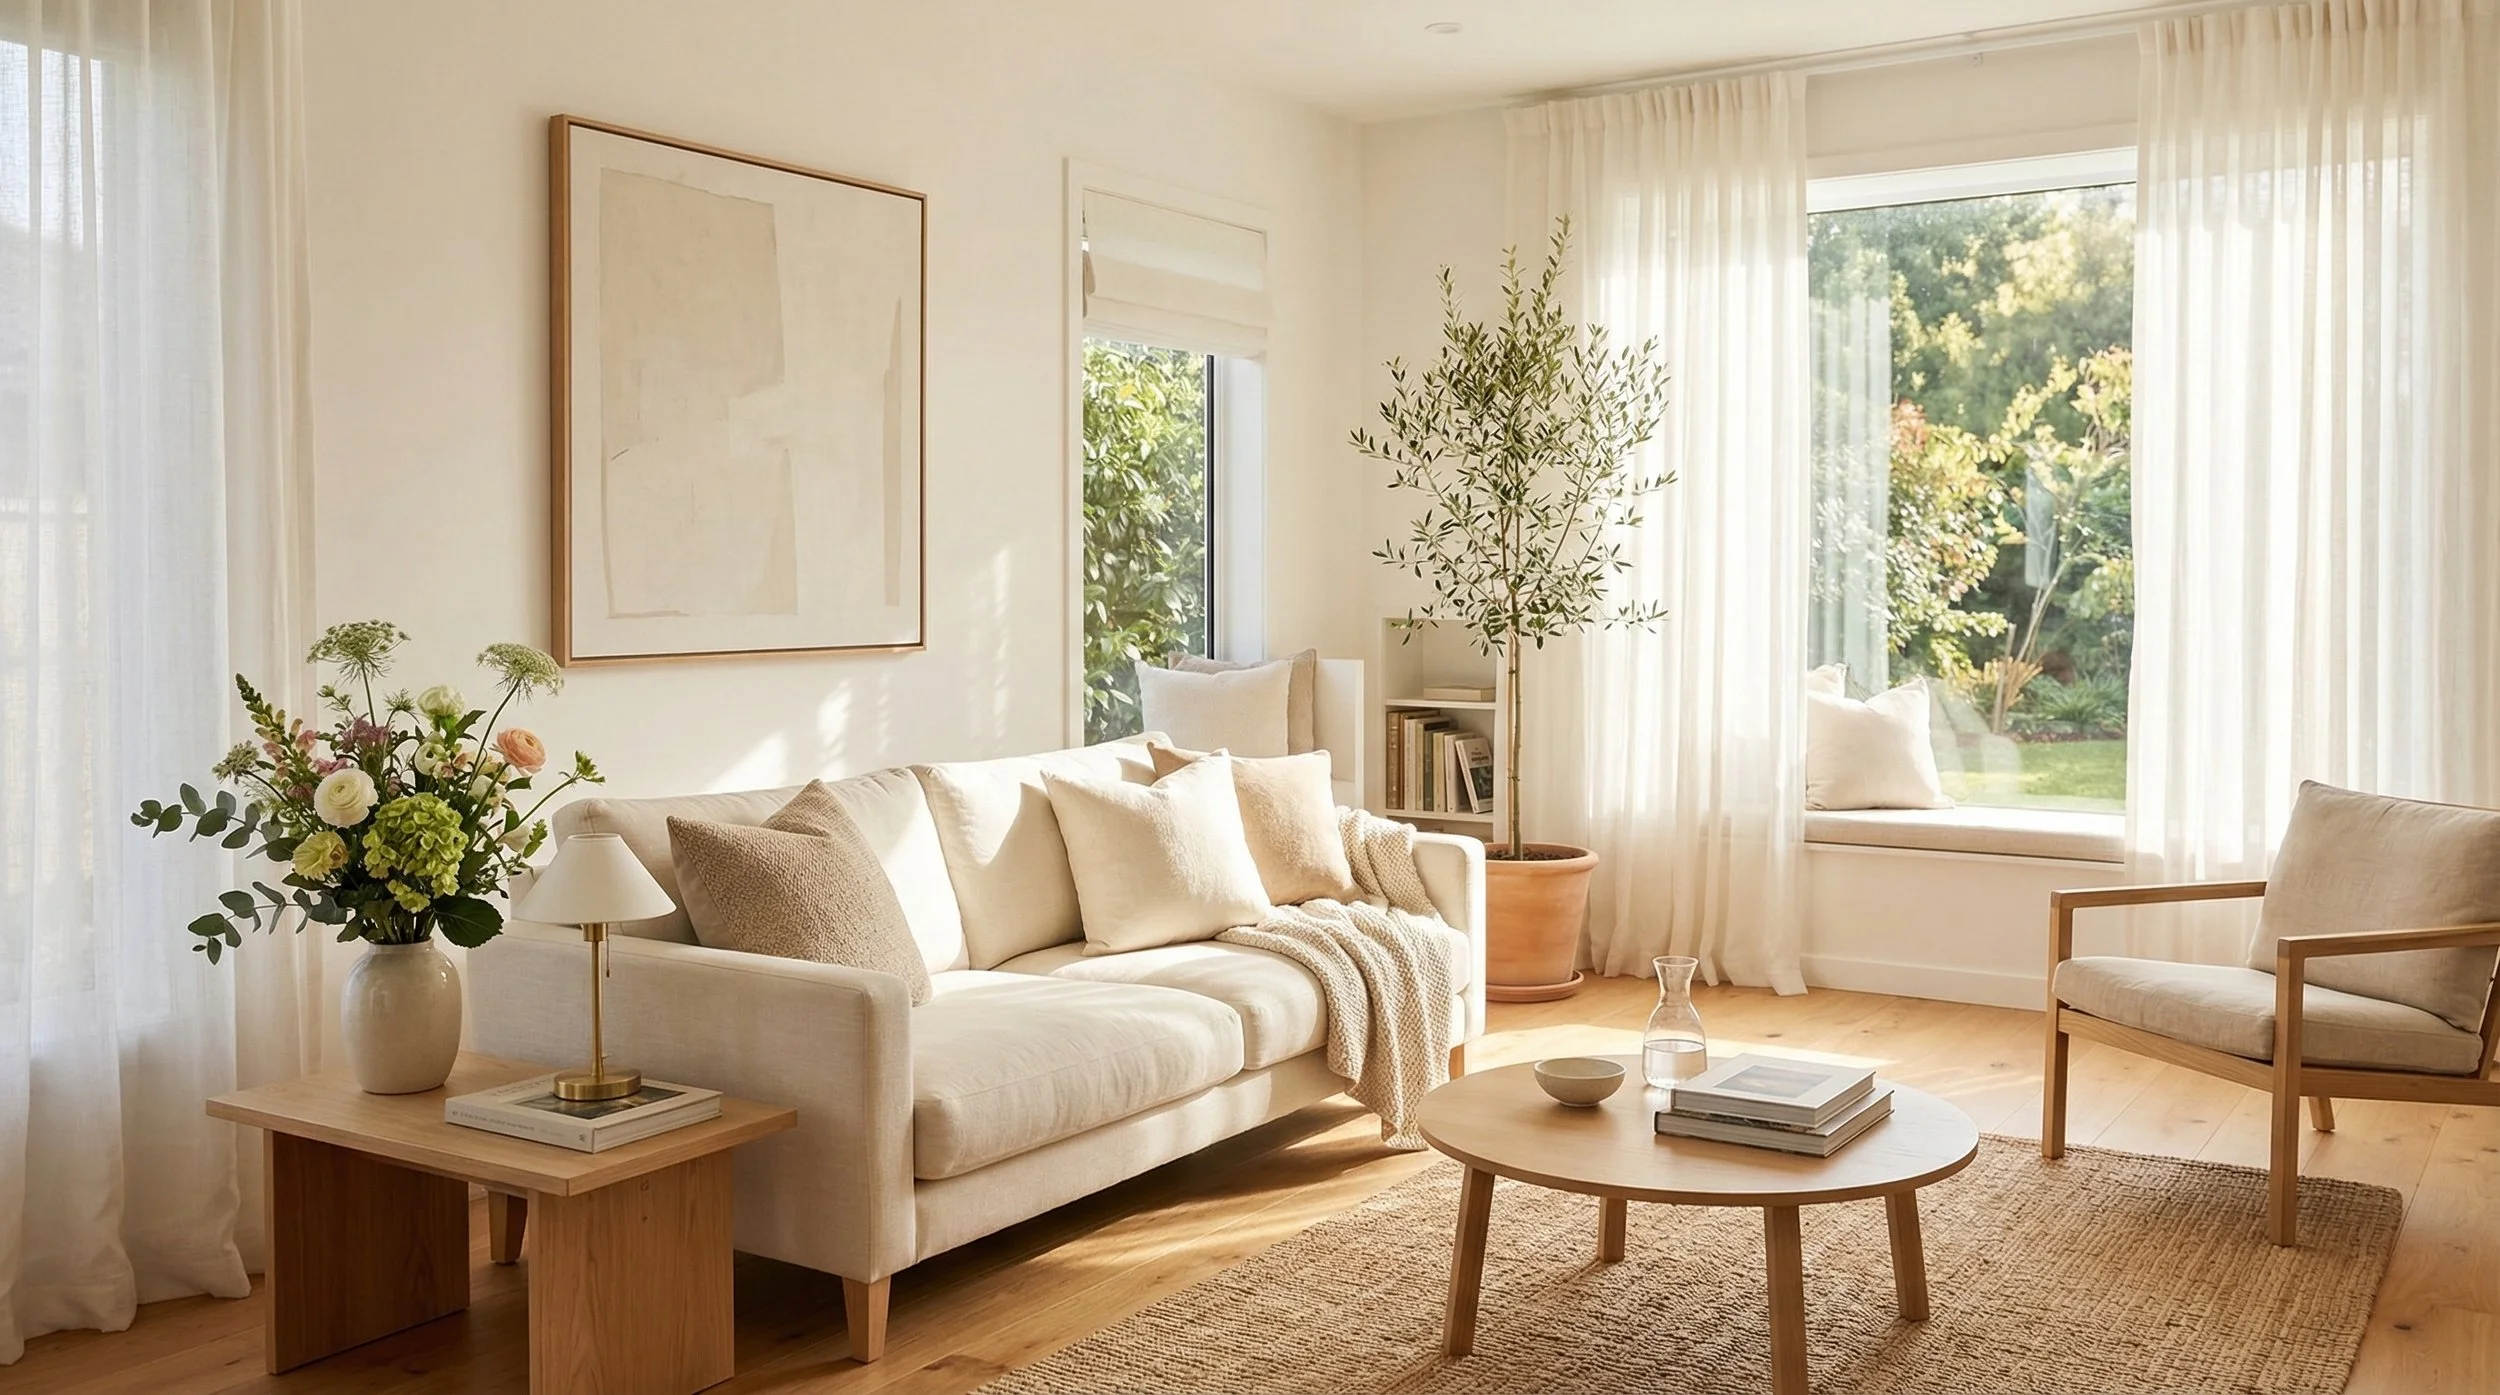
A well-prepped living space lets the light do the heavy lifting.
Before the Shoot Day
The most impactful prep happens in the days leading up to the shoot — not the morning of. Rushing through it in the final hour is one of the most common mistakes I see, and it shows in the photos.
📋General Whole-Home Prep
Deep clean every room — baseboards, windows, and mirrors especially. The camera sees everything.
Declutter surfaces. Less is almost always more. If it doesn't add warmth or character, remove it.
Replace any burned-out bulbs and make sure all light sources use matching color temperatures where possible.
Hide cords, chargers, and cables behind furniture or appliances.
Remove personal items — family photos, kids' artwork, mail on the counter. This helps buyers picture themselves in the space.
Make sure all beds are freshly made with clean, wrinkle-free linens.
Clear out pet items — beds, food bowls, toys, litter boxes.
🛋️Living Areas
Arrange furniture to show the flow of the space, not just where things live day-to-day.
Fluff and straighten all pillows and throw blankets.
Clear the coffee table — maybe keep one tasteful book or small plant, nothing more.
Open all blinds and curtains to let in as much natural light as possible.
Vacuum rugs and mop hard floors the day before (not the morning of, so there are no wet streaks).
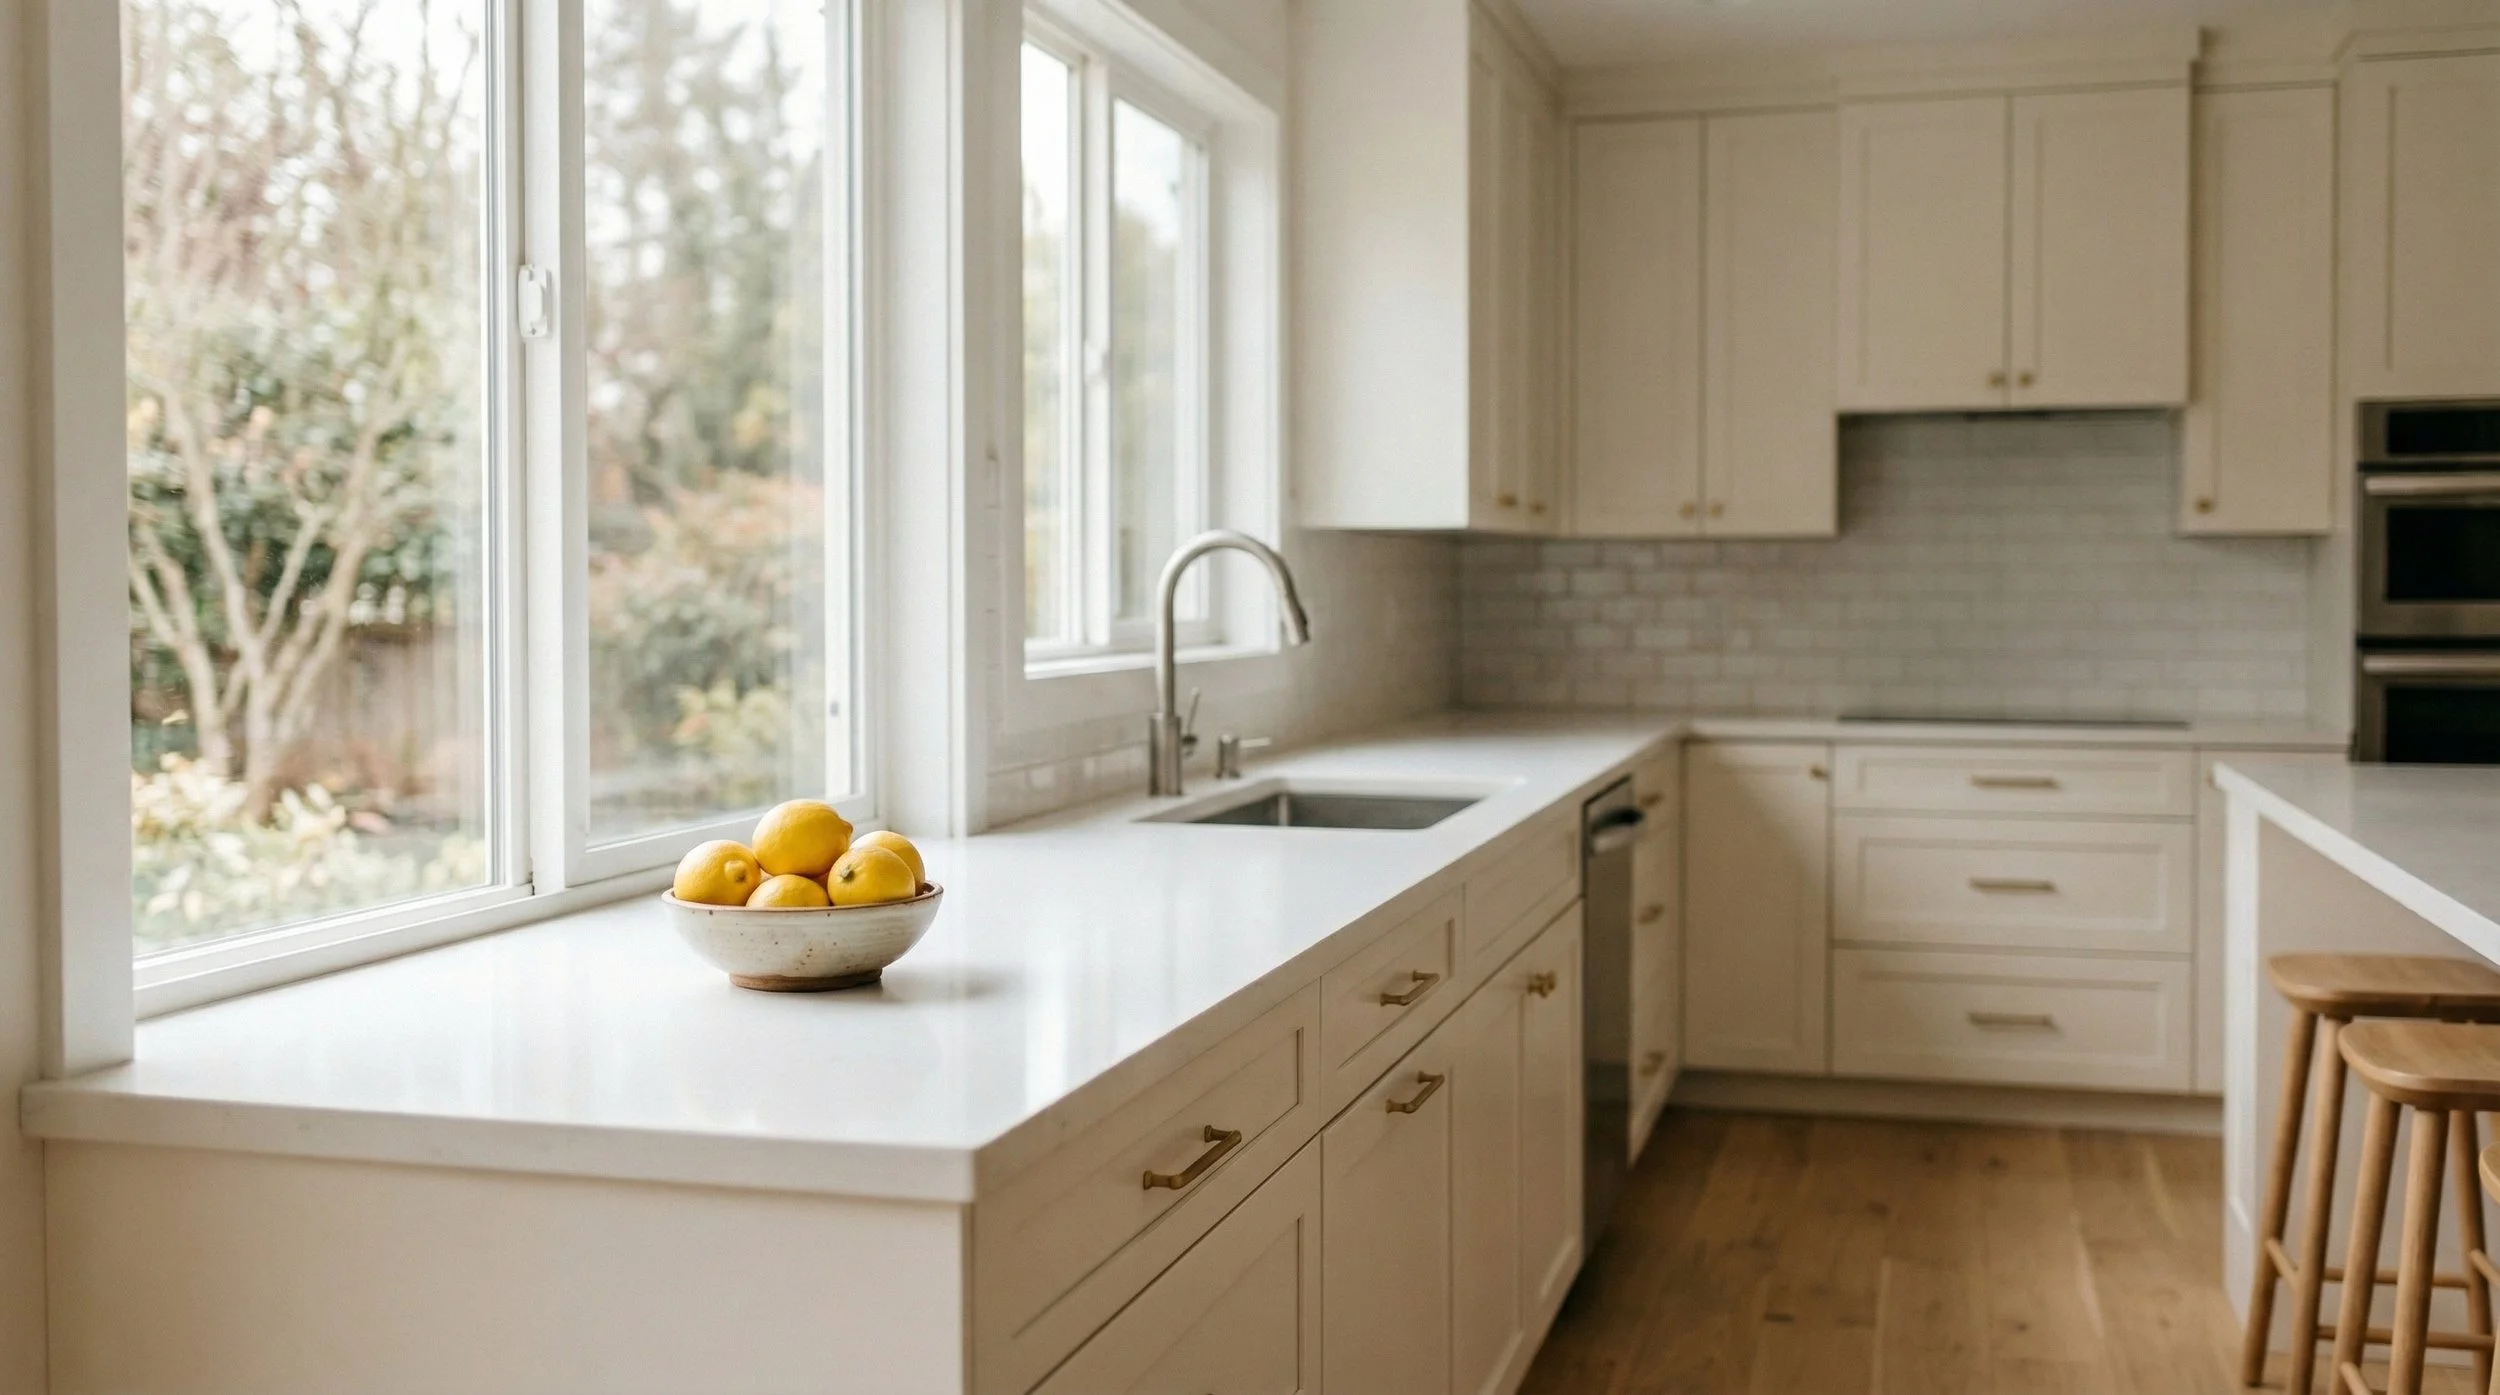
A clear kitchen counter reads as spacious and clean — a huge selling point.
🍳Kitchen
Clear everything off the counters — yes, everything. The toaster, the paper towels, the knife block. All of it.
Clean the stovetop, sink, and any visible appliances until they shine.
Remove magnets, notes, and anything from the fridge door.
A small bowl of fresh fruit or a simple plant can add a beautiful natural touch.
Empty and clean the sink — no dishes, no dish rack if possible.
🛁Bathrooms
Remove all personal care products from counters and shower ledges.
Replace bath mats and towels with fresh, clean versions — ideally neutral colors.
Close the toilet lid.
Clean mirrors until there are zero streaks or water spots.
A simple candle or small plant adds warmth without clutter.
🛏️Bedrooms
Make the bed neatly with pressed or well-fluffed linens.
Clear nightstands down to one small lamp and maybe one simple decorative item.
Close closet doors — or organize them beautifully if you want them open.
Remove any clutter from under the bed if visible.
Make sure window treatments are even and hanging properly.
The Morning of the Shoot
The heavy lifting should already be done. The morning is just about the finishing touches — and making sure the space feels alive and welcoming, not sterile.
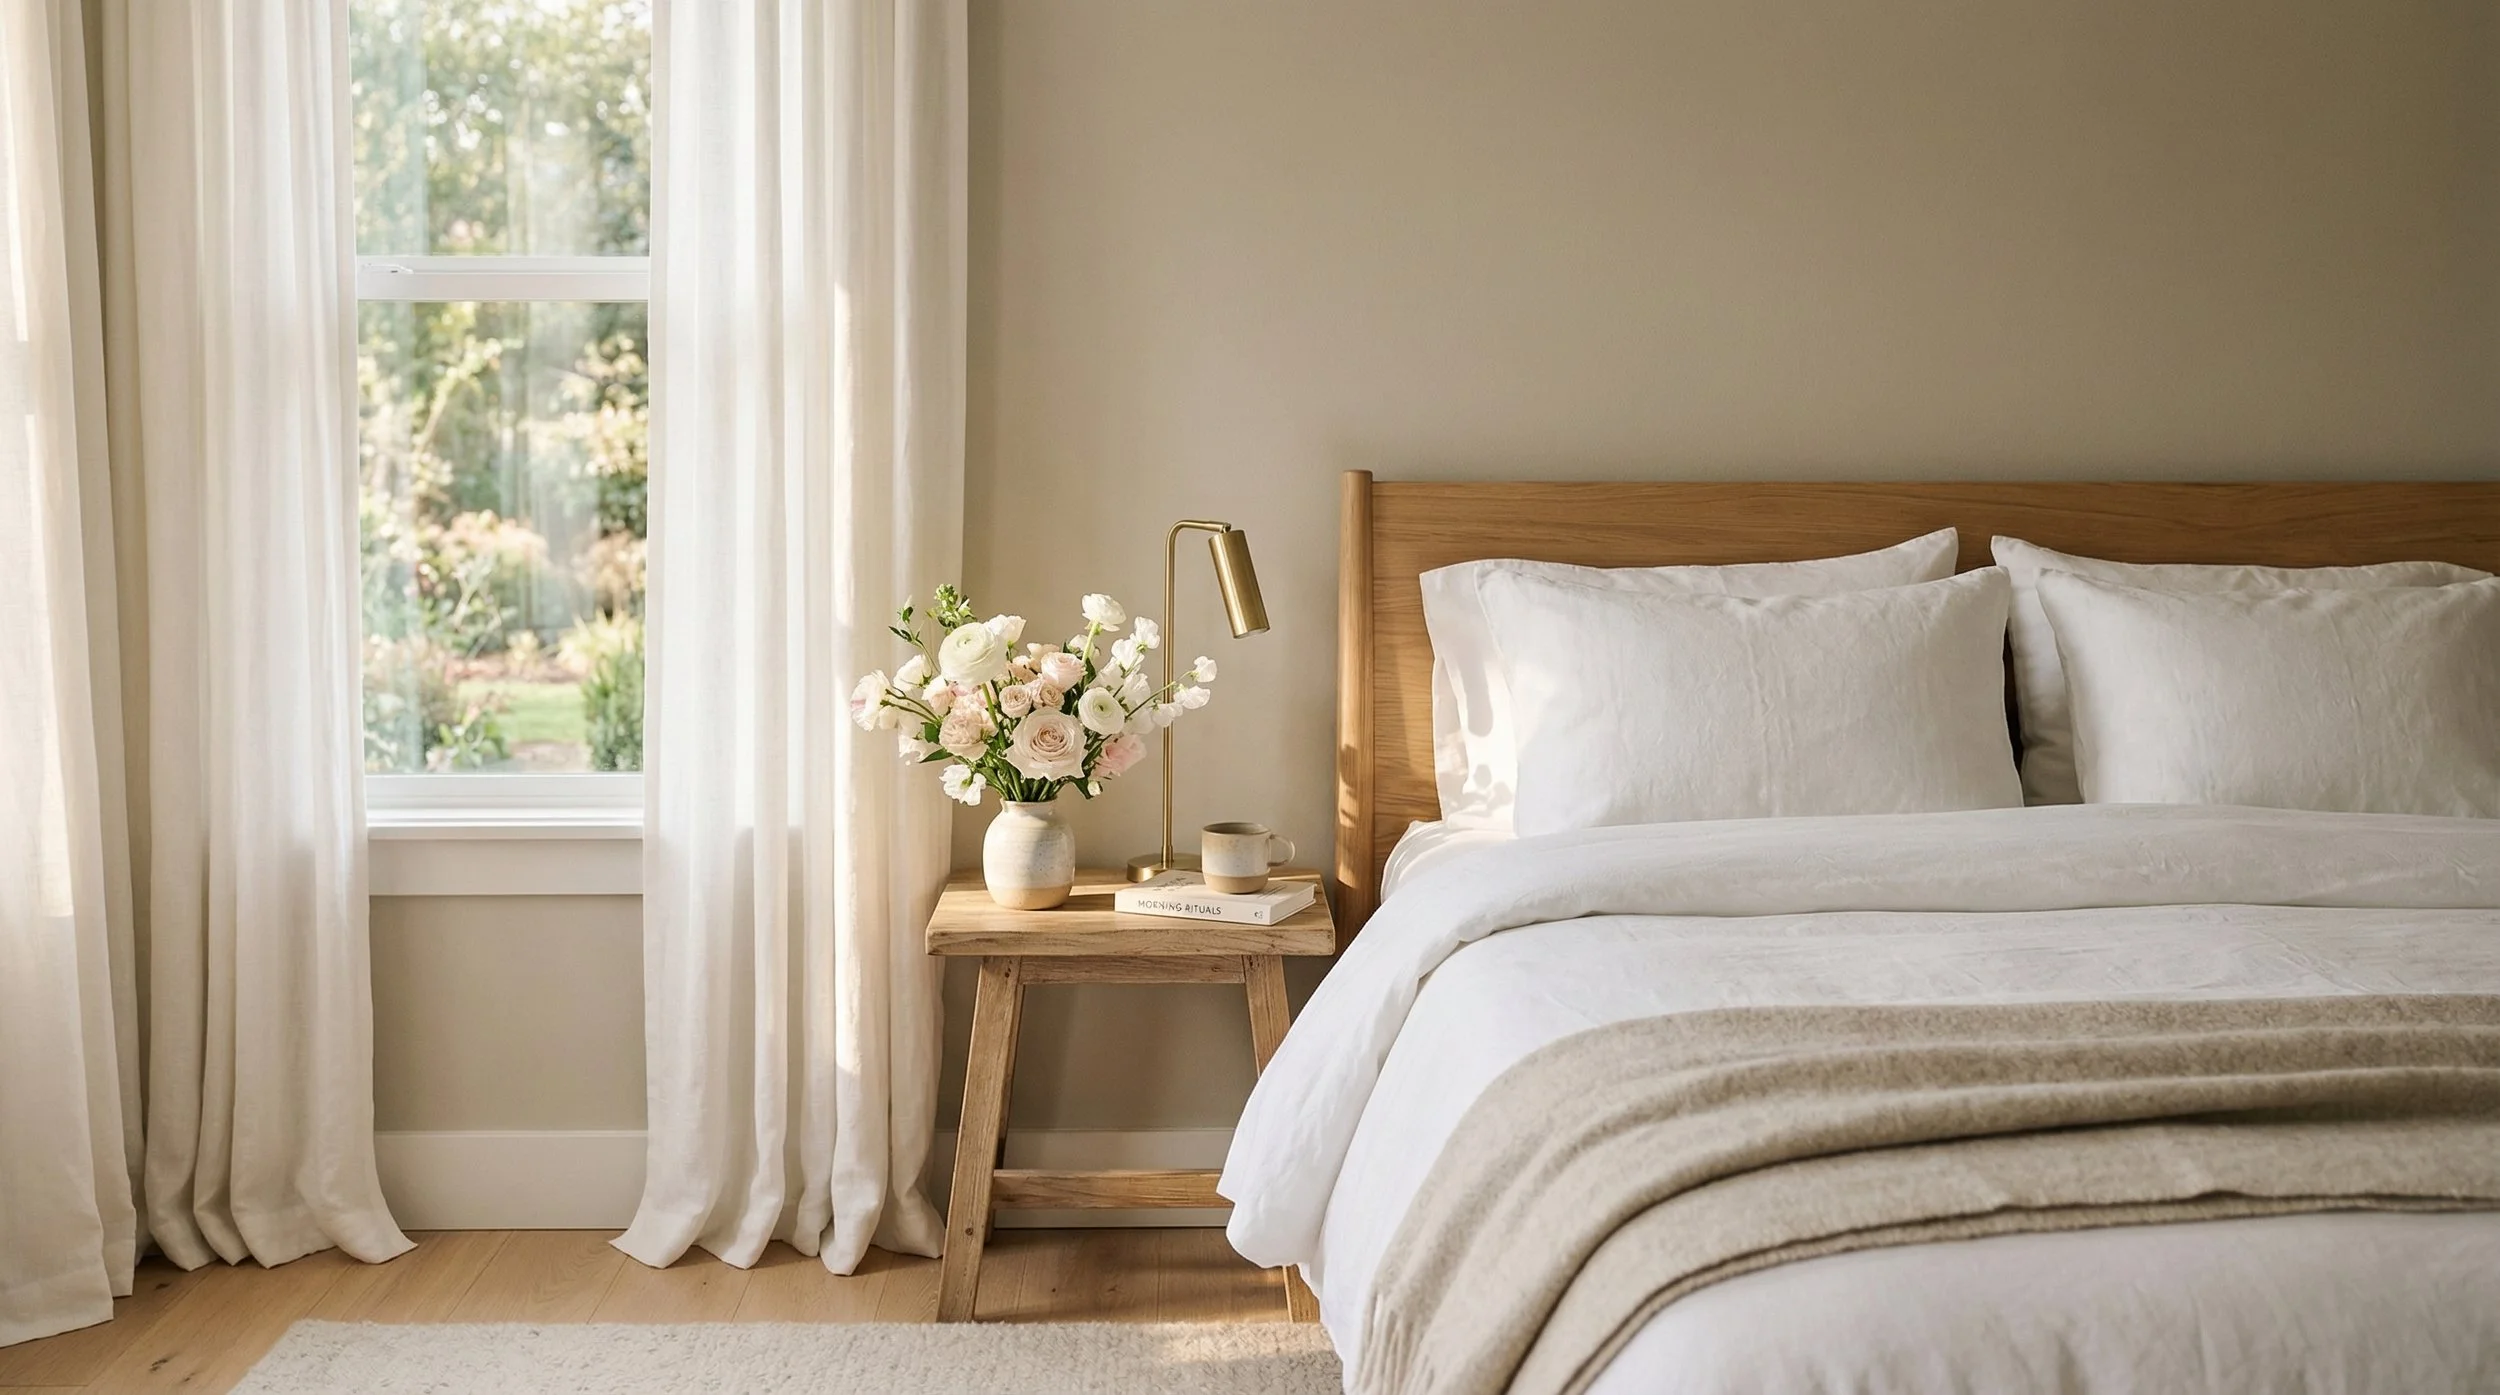
When a bedroom feels this calm, buyers don't just see a room. They see a retreat.
☀️Morning Checklist
Turn on all the lights in the home — every lamp, overhead, and under-cabinet light. It adds warmth and dimension.
Open all blinds and curtains fully. Natural light is gold.
Move cars out of the driveway and away from the front of the home.
Take out any trash cans from view — inside and outside.
Sweep or blow off the front walkway, porch, and driveway.
Mow the lawn and tidy up any landscaping if it was done earlier in the week — just make sure it looks fresh.
Do a final walk-through room by room and take a photo with your phone. You'll catch things your eyes have stopped seeing.
One Last Thing
Good prep doesn't just make better photos — it makes the whole experience smoother for everyone. I can focus on finding the right angles and light when I'm not working around clutter or trying to mentally remove a trash can from the frame. And you get images that do real work for you in the market.
If you're ever unsure about something before a shoot, just reach out. I'm always happy to talk through what I'm looking for and answer any questions. We're all working toward the same goal — making this home impossible to scroll past.